Lightroom 9.2
You can see Classic Lightroom product manager Lisa Ngo’s announcement here.
New method of setting defaults
I think this is probably the most eye-catching of the changes in 9.2 – a new section in Preferences where you can set the default profile or preset for raw files. Apart from being much more obvious than the old way of Alt clicking the Reset button, it also provides a mechanism to automatically fine tune the default noise reduction as your ISO increases, and I’ll come to this later.
In one particular way this marks a big change for Adobe. For years camera makers have offered built-in looks called “picture styles”, “picture controls”, “film simulations”…. and Lightroom and Adobe Camera Raw steadfastly ignored them. Then a couple of years ago Adobe added the “camera-matching” profiles which was their attempt to render raw files corresponding to the camera makers’ styles.
Maybe the introduction of these profiles signposted where Adobe planned to go, and I might speculate that this move might be linked to the growing popularity of mirrorless cameras. Electronic viewfinders display the camera maker’s built-in look when you make the photo, and it’s natural to expect to see similar colours in Lightroom. This was certainly my own experience with my Fuji, and I found it frustrating that Lightroom ignored that I’d chosen the B&W Red Filter film simulation for some of the day’s photos, for others a Green Filter, for others the Astia Soft look. You still had to apply the profiles yourself. That’s what led to my X-LR plugin which reads the raw files and automatically applies the correct camera-matching profiles.
So what is new is the panel’s option to set the default to Camera Settings and make Lightroom automatically apply the correct camera-matching profiles. You can do this at the overall or Master level, or for individual camera bodies. If you’re a mirrorless camera user who uses the picture styles, this may be the setting you should choose.
I’m going to have to think what that means for my plugin!
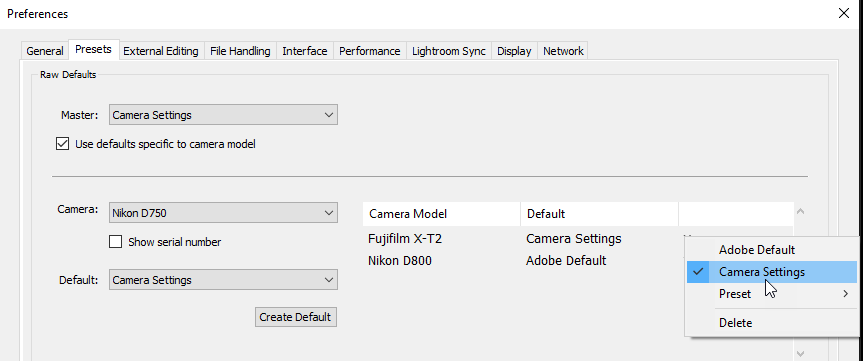
Here Lightroom’s default is set to the camera-matching profiles, which reads the settings from the raw files. But I have then told it to use Adobe Default for the Nikon D800.
ISO-dependent defaults
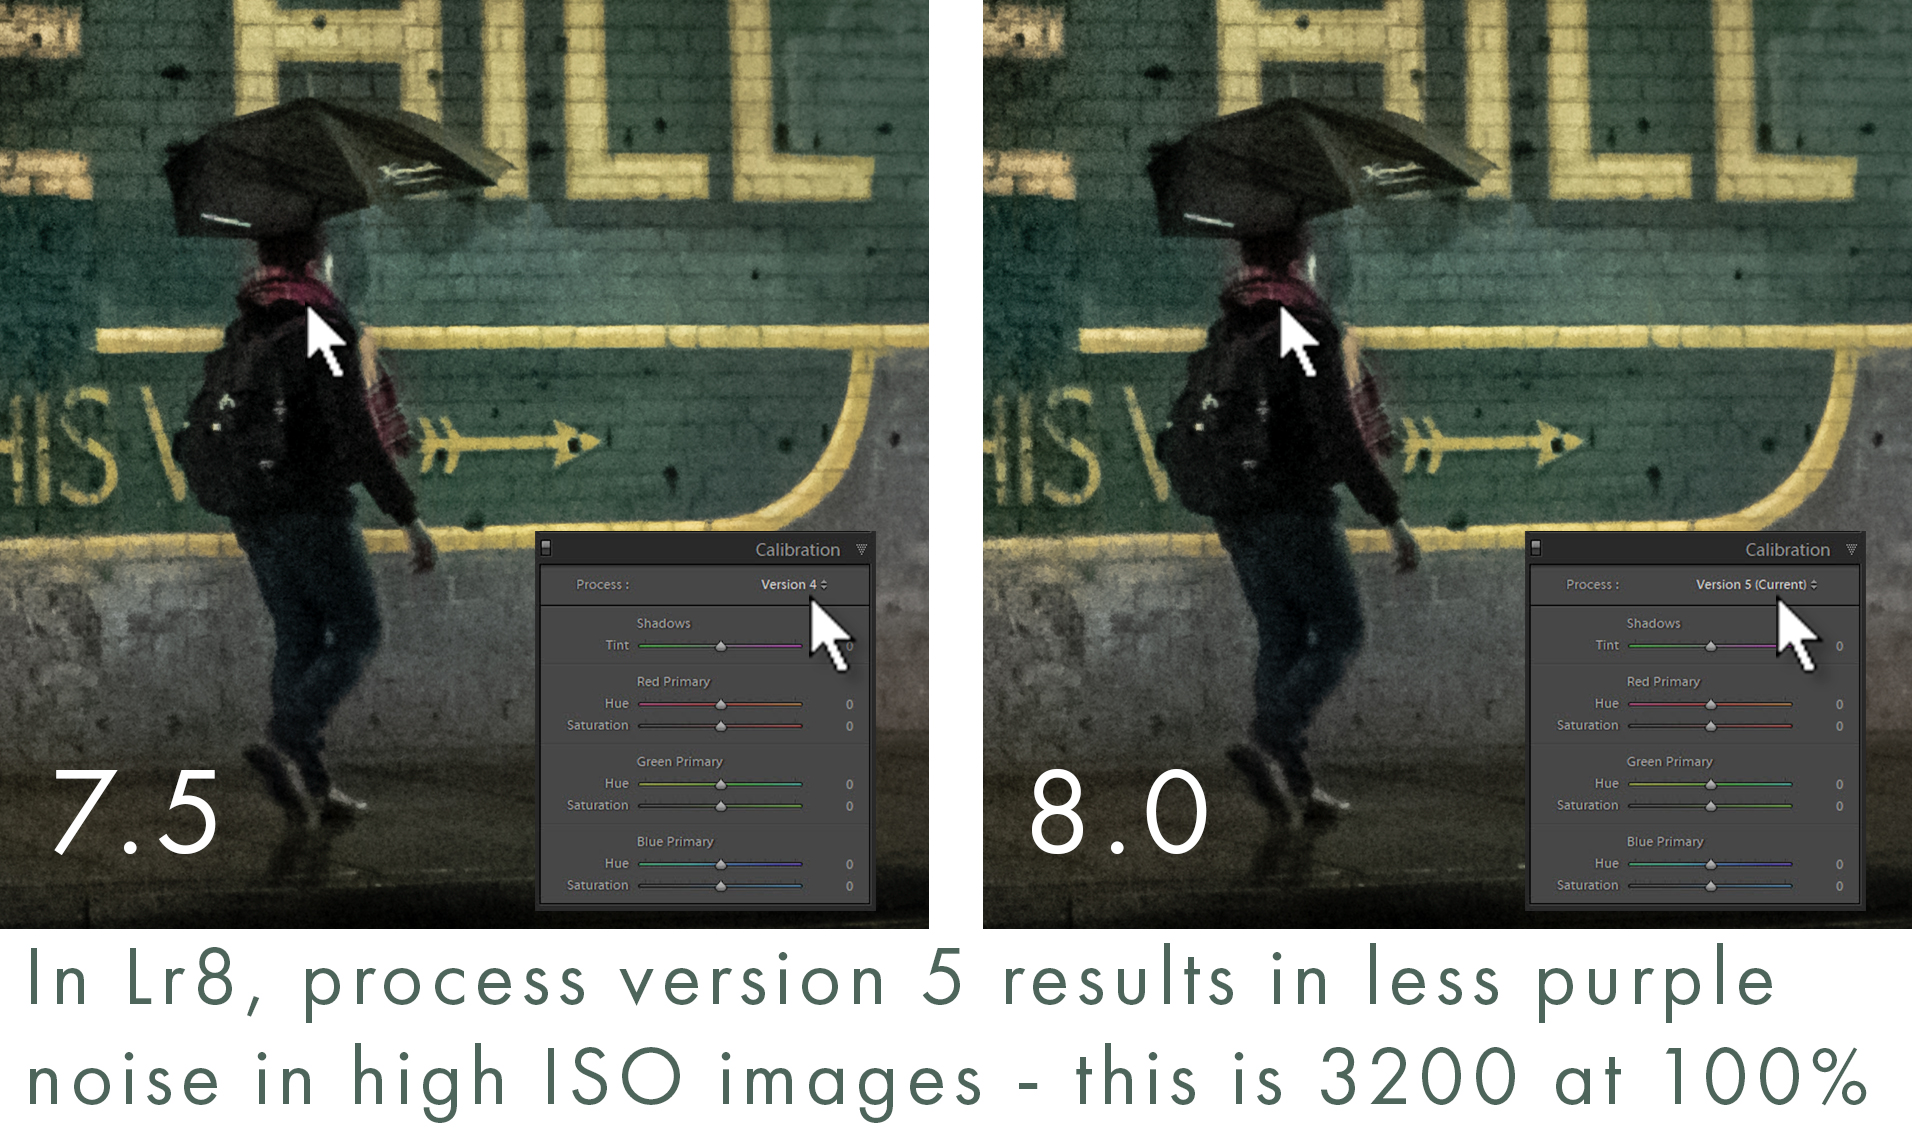
Unusually perhaps for Adobe, their new mechanism simply breaks the old default settings, which is annoying for those who had already had raw defaults for various ISO values, most commonly bumping up noise reduction. Previously you used to need to create one default for each ISO that you used, which was awkward if you set your camera’s ISO to Auto and therefore generated a variety of ISO values. If you’d put a lot of time into getting this working, I can’t blame anyone for feeling that these defaults should have been automatically converted rather than discarded. But once you set it up, the new method is better. Now you just define a range of ISO values and settings for Lightroom to interpolate. So let’s say you define ISO 400 to have 0 Luminance, and 1600 to have a value of 30, but import an image shot at 800. This will get a value of 15 (interpolation uses stops rather than averaging).
You have to edit an xmp file in a text editor. While some of us can do that with ease, it’s a geeky solution and to be frank, I doubt it will be left like this.
One tip is to be very careful with the xmp file (I think you only need one). Never rename it or update in in LR, always using a text editor, because updating or renaming it with LR will overwrite any ISO settings in the file. So always keep extra backups of it, just in case you forget this advice.
The new defaults apply to other Adobe Camera Raw apps on the same computer. So if you open a RAF directly in Photoshop, it will use the default you had defined in LR (or in ACR).
PSBs can be imported
I rarely use the PSB file format which is for very large Photoshop files, but multi-layer 16 bit files can easily grow beyond TIF/PSD 4gb limits and it has been frustrating that you might send a file from Lightroom to Photoshop but be unable to continue managing it in Lightroom. That block on the PSB file type is now gone.
However, the limits on maximum dimensions remain 65,000 pixels on the long edge or 512 megapixels. That won’t please some people.
Of course, I am glad that PSB file types can now be managed, but I think Adobe continue to miss an opportunity. it’s my long-standing view that Lightroom should simply catalogue all file types. It doesn’t need to adjust PSBs or PDFs or Word or Excel files, just allow you to manage them.
AutoSync safeguards
AutoSync is the fastest way to work in Lightroom when you’re working with multiple photos. Select them all, drag the slider, and the adjustment is applied to all the selected photos – that’s much quicker than Sync Settings which is more like copy and paste.
So I leave AutoSync enabled all the time, and always keep an eye on which images are selected. Whenever I only want to adjust the selected photo, I’ll either select that photo or temporarily disable AutoSync, make my adjustment, then enable it again. Leave it enabled all the time, or leave it disabled and never use it – don’t confuse yourself.
Some people do make mistakes, forgetting they have AutoSync enabled and then noticing that they’ve accidentally applied an adjustment to lots of photos. Often that’s too late to use Undo.
In this release Adobe have made it harder for those mistakes to happen. Now in AutoSync mode the button is highlighted. But better than this is something I suggested long ago – there’s an on screen message any time you adjust multiple images.
More control over second monitor
I’m sure this must interest someone!
 Lightroom’s latest update came out earlier this week. Features are now released every few months, so I wouldn’t read much if anything into Adobe calling it Lightroom 9.0. The new features that I like most are:
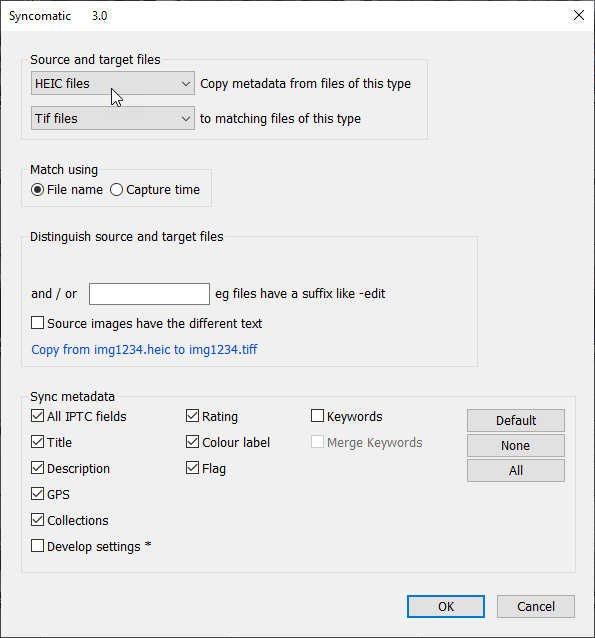 I’ve just released version 3 of my
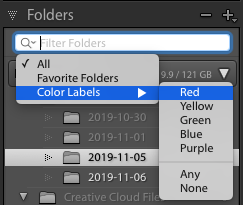
 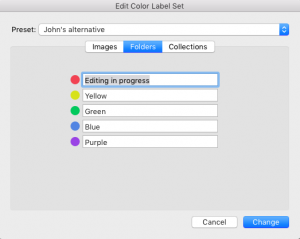 One feature that has surprised me is the colour labelling of folders, which came in 8.3, and now for collections too.
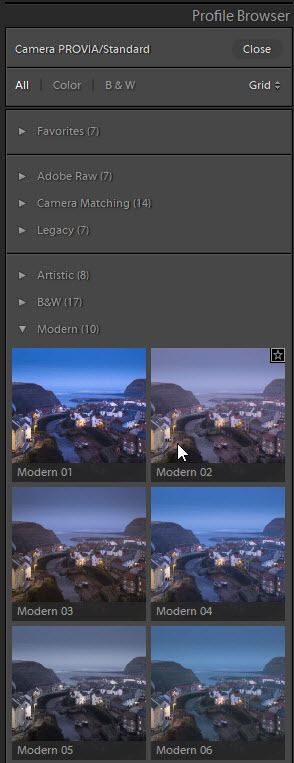
 Incidentally, I also point people to the Mark Favorite menu item which is also relatively new. Favourites can then be accessed quickly from the Filmstrip.
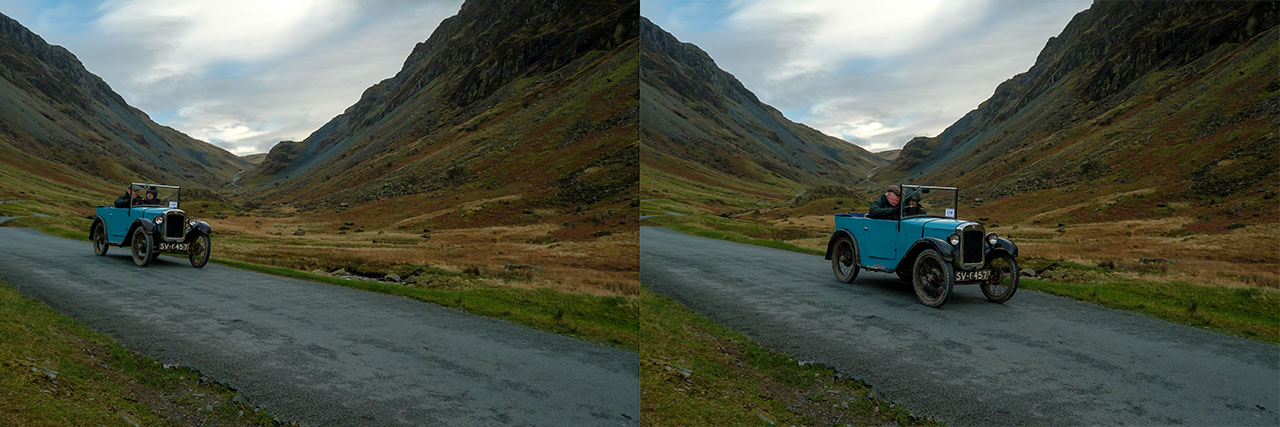
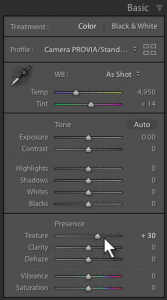 Big new feature is a new slider – Texture. For me it’s a subtler form of Clarity, like a blend of Clarity and Sharpening, and it’s a global or local adjustment.
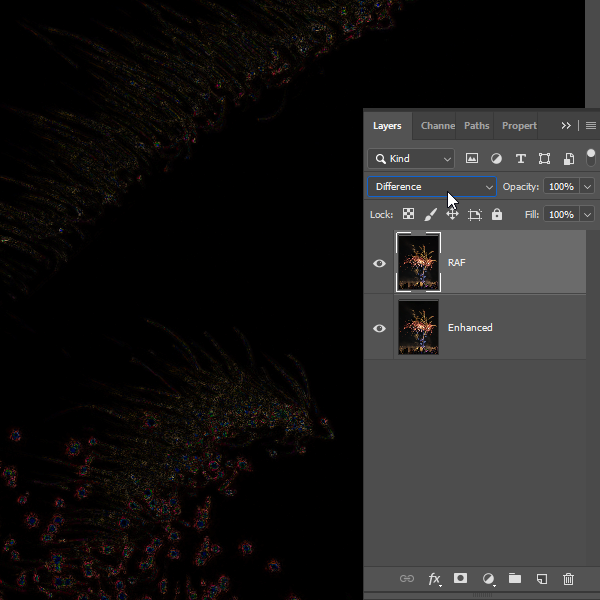 One thing worth trying is to create the EDNG, then select it and the RAF and send them to Photoshop using Edit In > Edit as Layers in PS.
 two files


 Look out for Lightroom 7.3 today – the official announcement is
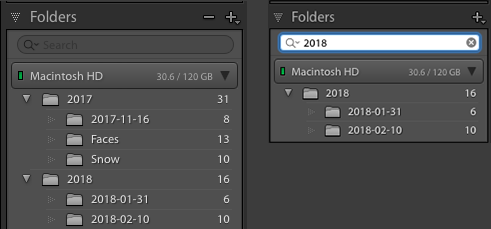
 Adobe have “reached out” (I hate that expression!) to a number of photography sites and let them try Lightroom’s upcoming 7.2 release and its performance tuning. According to Tom Hogarty:
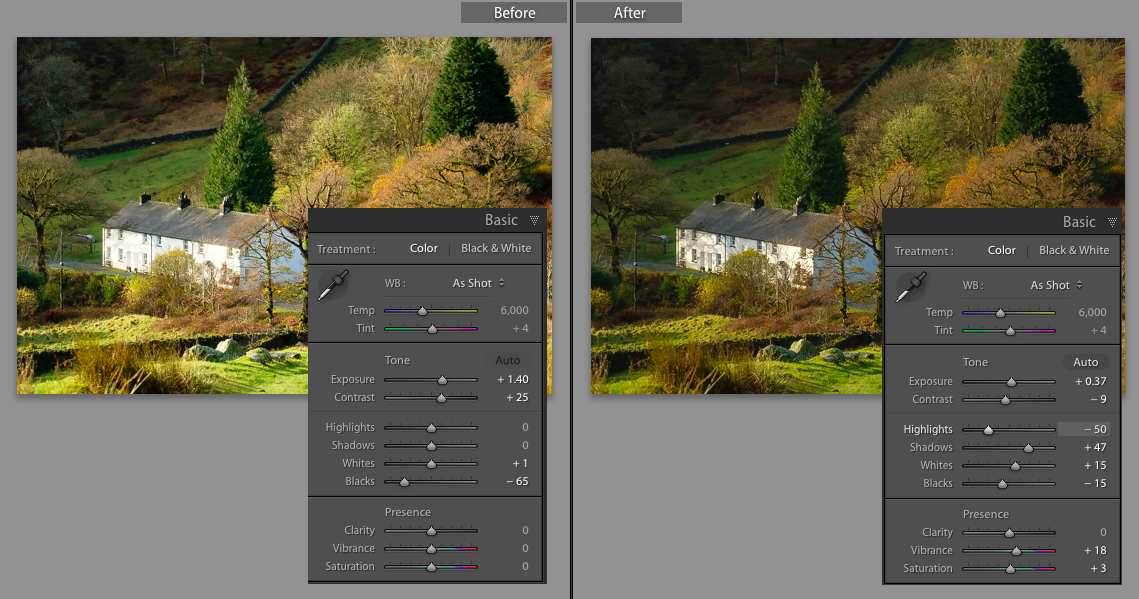
 What are the criteria for “best photos” in