Lightroom 5
 As you may now know, Lightroom 5 was released yesterday, Sunday 9th June. For more about it, see the official Lightroom Journal and Adobe’s What’s New page.
To be honest, there’s not a lot that’s revolutionary in Lightroom 5, and you may reasonably guess that it may have suffered from a development cycle curtailed by Adobe’s decision to kill off the Creative Suite in favour of the subscription-limited Creative Cloud.
So 5 has none of 3’s radically-improvements to shadows and lens corrections, and none of 4’s wonderful control over highlight tones and detail recovery, plus new Maps and Books workspaces.
It’s a bit harder to get excited with a release where the improvements are mostly small and incremental, and I wouldn’t blame anyone for asking if it contains enough goodies to consider upgrading if you’re already happy with 4? On balance, I think one can say yes, and that’s because the improvements include many that are practical and which improve the overall experience.
So in 5 short posts I’ll highlight my favourite, perhaps less-obvious features. One or two might surprise you.
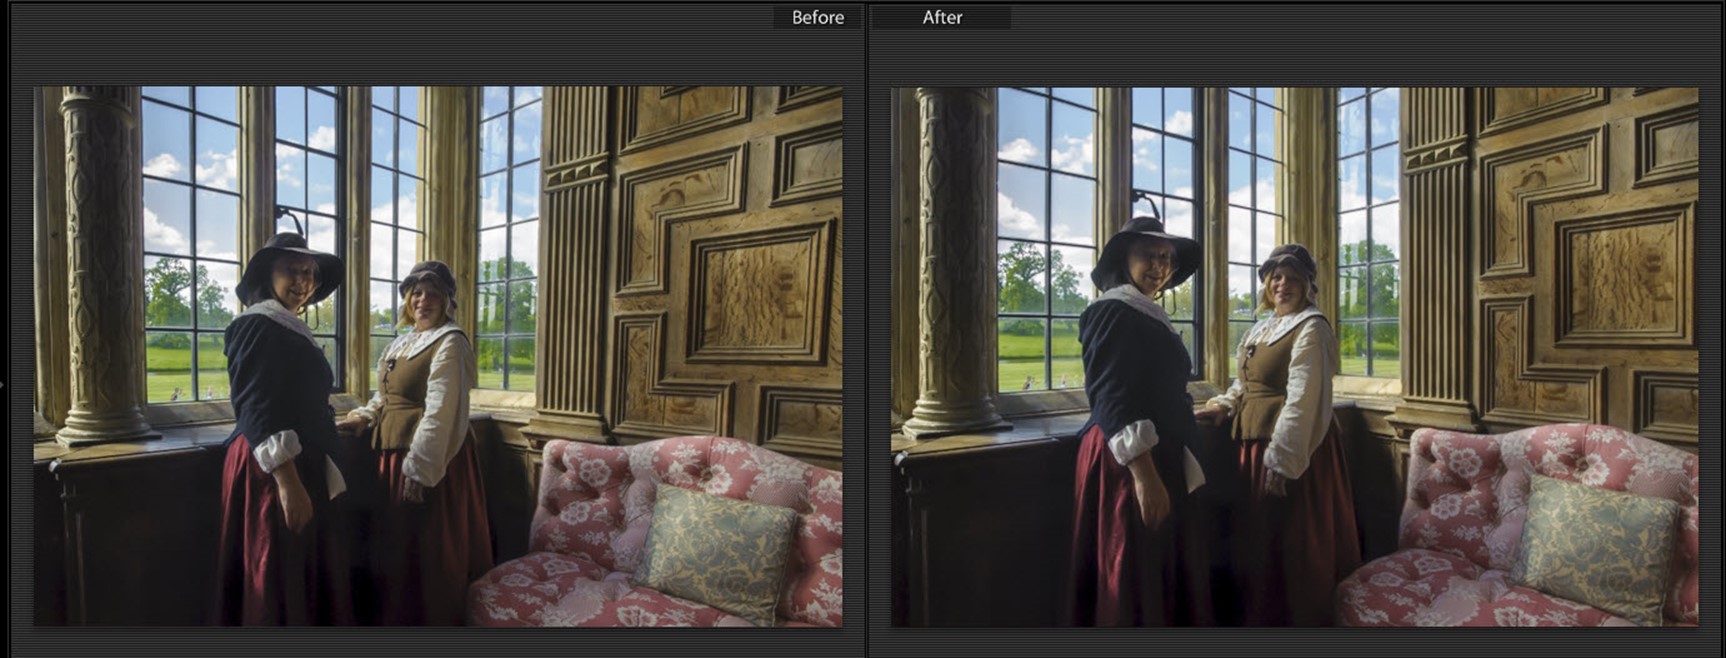
I’m not including the new Upright Lens Correction, although I do like it very much. You can see how a single click fixed the picture below, leaving the column (left) vertical and straightening the wood panelling on the right. If you take a lot of shots with architectural elements, you’ll like Upright.
Nor am I going to include Smart Previews. They’re interesting, especially so if your usual working machine is a laptop and you frequently work away from your originals. That’s not the case for me, so it’s “interesting” rather than exciting.
So in ascending order of delight:
- Managing hierarchical keyword lists
- Cataloguing PNG files
- Radial Filter
- Visualize Spots mask
- AutoSync and local adjustments
AutoSync does local adjustments. Oh yes!