Lightroom 5 favourite no 2: Radial Filter

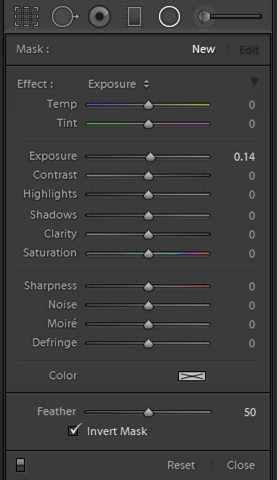
The small Invert Mask check box lets you target the radial adjustment. If you uncheck it, the radial adjustment acts more like a vignette,
The new Radial Filter apparently began as a movable vignette tool, so the first time you use it you’ll find that the adjustment affects the image area outside the circle that you’ve drawn.
In some cases that’s fine, but it does seem counter-intuitive, not least because you will soon find that this Radial Filter is much more than a vignette tool. In fact, it feels much more natural when you use it to target the area inside the circle rather than the area outside, and I find I’m often employing the Radial Filter for tasks that would previously have required the Local Adjustment Brush.
To use Radial Filter to target an area, just tick the Invert Mask check box. If this is how you work, you can easily change the tool so it defaults to this method. Just start a new Radial Filter and immediately tick the Invert Mask check box. From now on, each new Radial Filter will be “inverted”.
Other tricks:
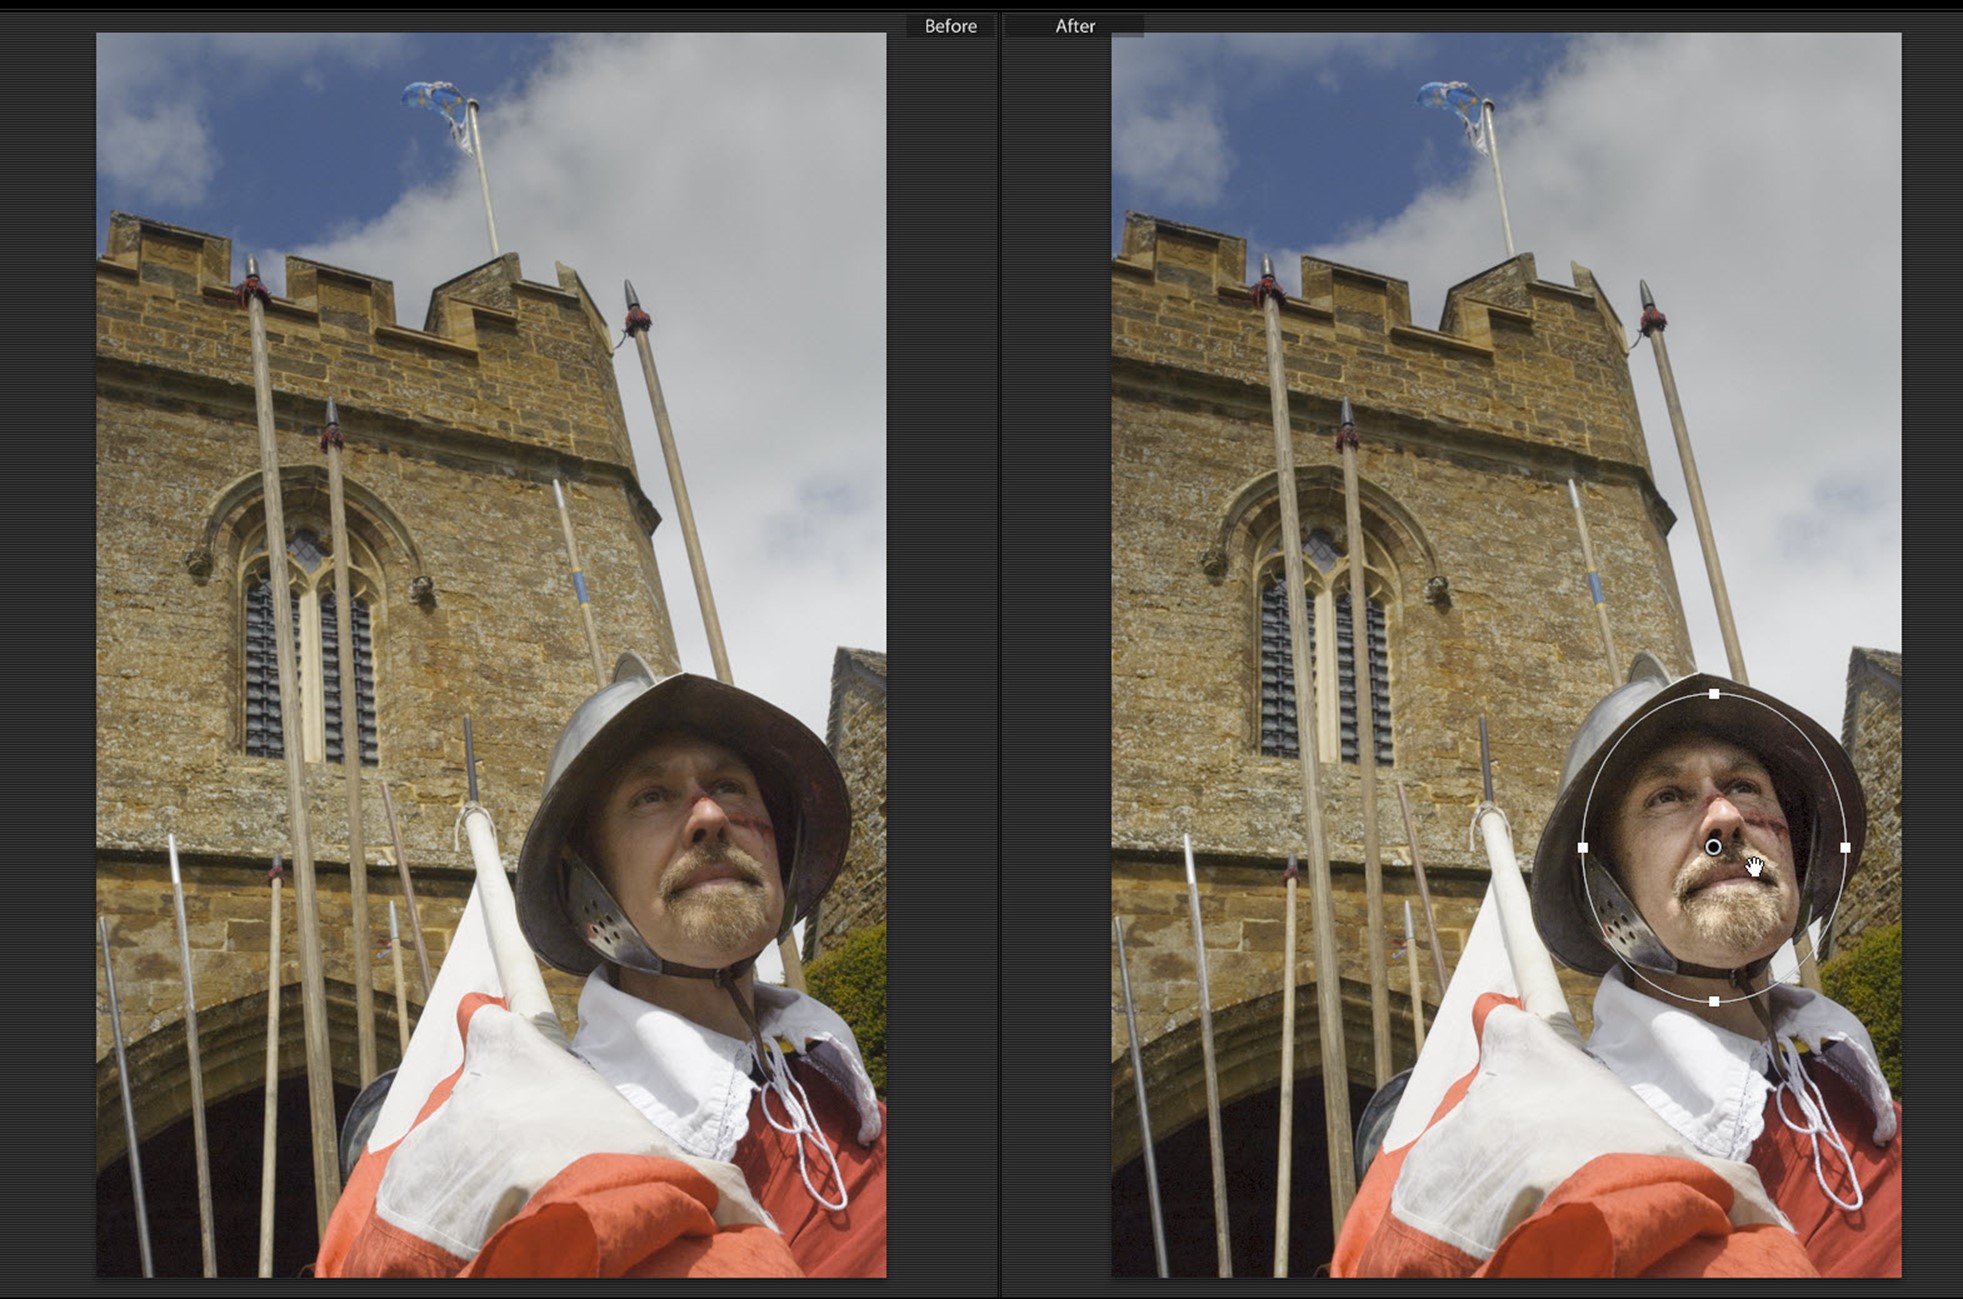
- Start from the exact centre of where you want to apply the filter. So for example, you don’t apply it to a face by clicking on one ear and dragging to the other – you click the nose and then drag outwards.
- Shift + dragging constrains the filter to the current shape – usually a circle
- Reshape a Radial Filter adjustment by holding down PC:Alt Mac:Opt and dragging one side
- Rotate an adjustment by moving the cursor just outside the circle
You can duplicate and move these Radial Filter adjustments:
- Move an adjustment by dragging it
- Duplicate a Radial Filter adjustment by dragging its central point while holding down PC:Alt+Ctrl or Mac:Opt+Cmd
My suggestion is to avoid using the Adjustment Brush for a few hours and use the Radial Filter for most dodging and burning operations. You’ll be surprised how well it works. After
 Instead of applying Clarity to the entire image, which would sharpen the out-of-focus background, I have used the Radial Filter and targeted the face.