Lightroom 5 favourite no 5: AutoSync and local adjustments
So we get to number 5, and I think this qualifies as a “you read it here first”! AutoSync now works properly with local adjustments!
To explain, especially for those who have never used it, I’ve always been a huge advocate of Lightroom’s AutoSync. When it is enabled you continue working on one image in Develop, but your adjustments automatically apply to all the pictures that are selected in the film strip.
AutoSync is wonderfulwith any series of frames where you want to make the same adjustments to each shot. Last weekend, for instance, I managed to accidentally underexpose more than 30 frames by about 4 stops. They all needed the same exposure, shadows, contrast, luminance noise tweak etc, and AutoSync meant I could quickly correct them all.
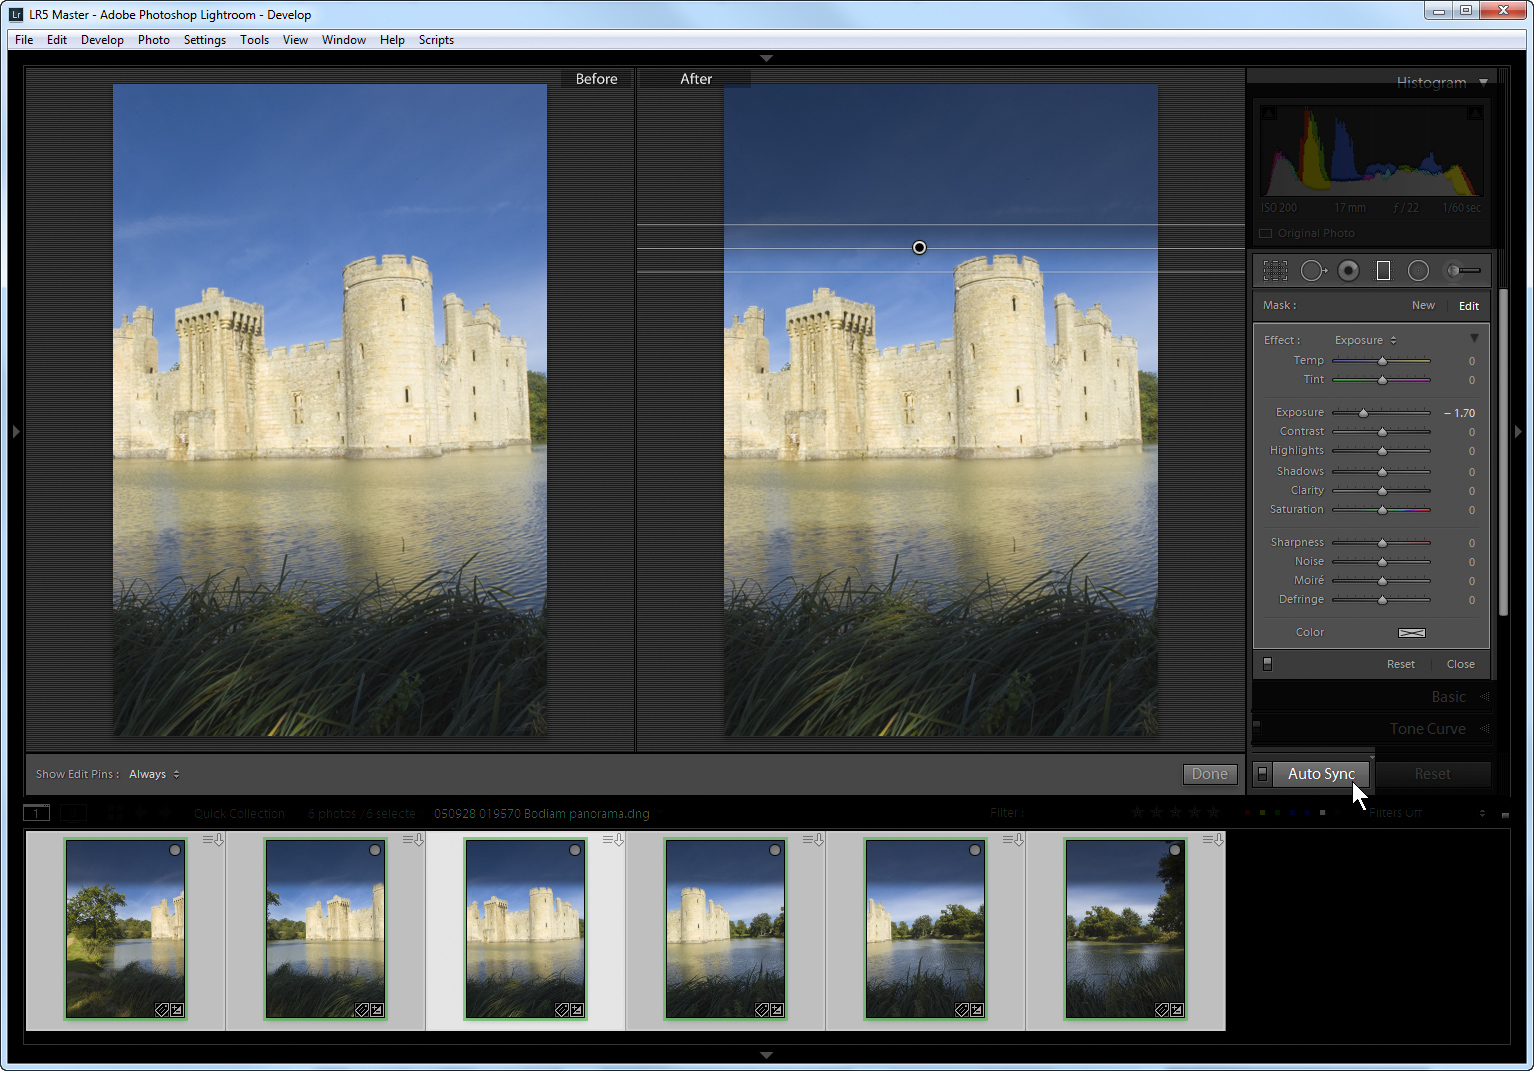
Or consider how workflows like the one shown below where I’m working on the component frames for a stitched panorama. Before they are sent over to Photoshop, they need the same colour corrections and dust spotting:
- With AutoSync enabled, I just correct one image’s spots and drag adjustment sliders, and all six frames are updated without any further effort.
- Without AutoSync I would have to pause at some point and sync the adjustments. That means I have to press the Sync button, review the settings dialog and clear any adjustments I don’t want to sync, choose which ones I do want to sync, and click OK.
Because AutoSync means simultaneous adjustment, it’s the fastest way to work in Lightroom, so I leave Develop set to that mode all the time. I’ll only disable AutoSync occasionally, for example when I decide I want an adjustment to apply to a single image, but more often in such cases I’d just deselect the other images while I make that specific adjustment.
Incidentally, you should leave Lightroom set to AutoSync all the time or leave it switched off all the time – one way or the other. I recommend leaving AutoSync on, but other people leave it switched off and go into it when needed. They may not be working as quickly or consistently, but you don’t want to confuse yourself by continually switching between AutoSync and normal modes, and you can easily make annoying mistakes if you’re not concentrating 100%. So I recommend leaving AutoSync on all the time, and keeping an eye on the film strip. Work one way or the other.
Unfortunately, AutoSync always had an annoying limitation – it didn’t include local adjustments. So in Lr4 I might add a graduated filter adjustment and it wouldn’t apply to the other selected images, so I’d be forced to go back and sync. Apart from interrupting my mental flow, it was 5 or 6 keystrokes where a single one would have done the job. What a bore!
That annoying limitation has disappeared with Lightroom 5. It’s something I actually discovered by accident, but apparently it is a deliberate change by Adobe. At last, local adjustments are applied in AutoSync mode! Brilliant!
I’ve exaggerated the graduated adjustment here, but now you can simultaneously adjust multiple images with graduated and radial filters or paint with the local adjustment brush.
