Pandora’s box – or InDesign to Blurb
 There’s never one way to do something, and whether it’s climbing a hill or putting together a book, it usually makes sense to have a good look around before setting out. Initially I’m going to do a test book with the minimum number of pages and trying out things like colour images (eek) or double page spreads which the final book probably won’t contain. So I’ve been reading through forum posts (RSS feed) or the Blurberati blog, and playing around with Blurb’s BookSmart – pretty well confirming my feeling that it’s a bit too limited for how I like to work.
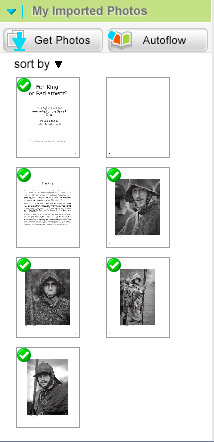
What I mean here is that once I see an image in a layout, there’s a pretty good chance I will want to adjust it again. This expectation may be a personal thing, always wanting to fine tune and never saying something’s finished. Or perhaps it’s more in the very nature of putting together a book where the images have to look right in context rather than individually. Either way, BookSmart doesn’t let you do anything smart, and you’d have to reopen the original in Photoshop or Lightroom, create a new JPEG, and replace the one that’s in BookSmart’s My Imported Photos.
That’s a rather pedestrian way to work, and nor do I like the thought of retyping captions which are already in the images’ metadata. So rather than do any layout work in BookSmart, I’ll take advantage of having InDesign where I simply link to the originals, double click to re-open them in Photoshop, and add captions by scripting. Another advantage is that I could take InDesign’s PDF and to an alternative print on demand service, go down an eBook route, or even output to Flash (for no good reason other than being able to do so!). Only at the very end of the process, when I’m happy with how the book looks in InDesign, will I need to go to BookSmart.
The fun is in getting InDesign layouts into Booksmart because Blurb doesn’t yet accept PDF files (maybe later this year) and InDesign doesn’t export PNG which Blurb say is preferable to JPG for text quality:
Even in the latest InDesign (CS4), exporting to JPGs (300dpi or 600dpi) results in subpar text in your bound-and-finished Blurb book. It is better to export from InDesign as 300dpi PDFs, rasterize those in Photoshop (300dpi, RGB color, anti-aliasing checked) and save out as PNGs (8-bit, non-interlaced). Sounds like a pain, and I admit, PDF support would indeed make life easier for all of us. But if you can set up a batch action in Photoshop, this process is really a breeze. And, most importantly, it results in very clean custom text.
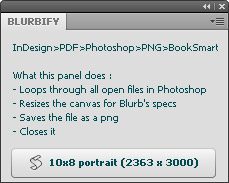 So I’m going to have to go on the rather circuitous route in Designing Blurb books in Adobe InDesign – ie InDesign > PDF > Photoshop > PNGs > BookSmart.
Photoshop is merely a stepping stone between PDF and PNG, but opens each page in the PDF as a separate file – no fun saving between 20 and 100 out to PNG and making sure the files would be numbered so that BookSmart’s Autoflow button would put the PNGs in the correct order. As I’d been looking for a good use for Adobe Labs’ Configurator, thus was born a very beta Blurbify….
Robin at by theartofengineering has done a really helpful series of posts:
And here are Blurb’s full-bleed page dimensions.