Lightroom and 32 bit HDR files
There’s an interesting new feature in Lightroom 4.1 Release Candidate 2 – the ability to adjust 32 bit HDR images in Lightroom.
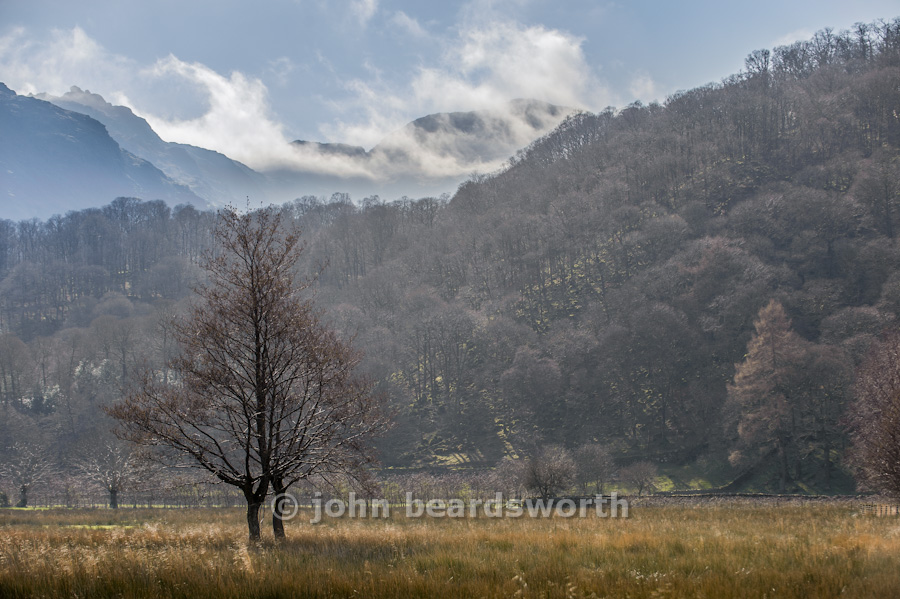
I confess  I’m not that big a fan of HDR and I don’t play with it often, but this picture is a good example of when I might use it. The component frames were taken last month in the Lake District near “our” village, Rosthwaite. These have been my favourite trees since I came across them early on a misty Christmas morning 5 years ago and on my recent visit, as you can see, there was a huge contrast range and the clouds were extraordinarily bright. It was an obvious HDR scene.
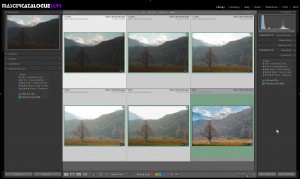
So I shot 5 frames at 1 stop intervals, beginning at – 3 1/3 stops. The camera is a Nikon D700 and I was shooting raw files. Back at the house, I did minimal preparation work in Lightroom – just dust spotting – and a couple of Library tasks:
- set the colour label to green
- stack them
I do these because there’s always a risk that during the culling phase of my workflow I’ll mistakenly decide that a frame is badly-exposed or badly-composed, so the green reminds me that it is intended to be part of an HDR or panorama.
 But until today I didn’t do anything else with the pictures – I don’t want to have folk thinking I’m getting into HDR!
So, what’s the new Lightroom workflow?
- Select all the frames in Library
- Choose the menu command Edit In > Merge to HDR Pro in Photoshop.
- In Photoshop’s HDR Pro dialog, I then set it to 32 bit output
- I placed the white point on the very brightest part of the clouds, and clicked OK
- I didn’t do anything else in Photoshop except saving the file as a 32 bit TIF
- Back in Lightroom, the 32 bit TIF was catalogued automatically
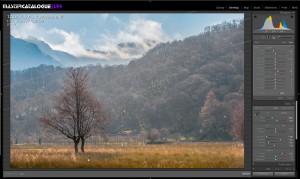
- Adjust it in Develop.
As well as overall and local white balance, I changed some Basic panel values and produced the final picture below.
It does make me wonder. I did so little to this picture in Photoshop other than run the HDR Pro dialog, so how far are we away from doing the HDR process entirely within Lightroom….

Aside:
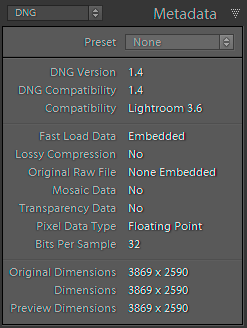
 Another curious detail is that once the 32 bit HDR file is back in Lightroom, you can use Library > Convert Photo to DNG to change the TIF to a DNG 1.4 which supports 32 bit floating data. \
Why you would do this is less clear to me, because you would lose the flexibility to process it as a 32-bit image in Photoshop (DNG means it would be sent to Photoshop as 16 bit).
But for a long time I’ve done something similar with JPEGs from a point and shoot camera and from my iPad. Converting these files to DNG distinguishes the original photos from derivative JPEGs which I might have generated for email, web etc. So packaging these HDR-merged TIF files as DNGs would also mark them out as pseudo-originals, and would also permit Lightroom to update their embedded previews.